February 10, 2020 Gardening 101
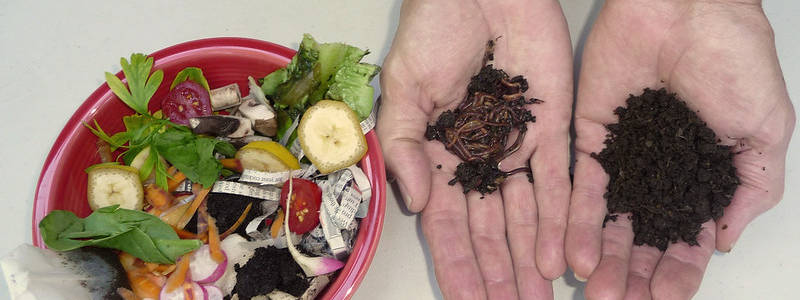
Image via Flickr by Oregon State University
Accompanying the rising interest in organic gardening and waste recycling is another fast-growing trend – worm composting.
More and more home gardeners and urban dwellers are getting involved in it, partly because certain species of the humble earthworm can gobble up a sizable portion of organic kitchen scraps and waste the average household generates. They are nature’s very own waste management system.
The magic of worm composting, however, is the nutrient-rich, organic fertilizer these little creatures produce at the end of their digestive process. Outdoor gardens and indoor containers alike experience huge benefits from the addition of this water-soluble, slow-release fertilizer to the soil.
But don’t let the thought of worm composting intimidate you. It’s actually a lot easier than you might think. Let’s take a closer look at what it is, and why you should do it. Then we’ll introduce you to the simple steps involved in starting, managing, and getting the most out of a successful home worm composting operation.
What is Worm Composting?
Simply put, worm composting is a method of producing natural, organic fertilizer at home, using a special kind of earthworm that consumes organic waste. As it is at the end of all digestive processes, these worms excrete waste in the form of nutrient-rich pellets called worm castings.
When mixed with soil, these tiny pellets slowly break down into their constituent nutrients. They receive a lot of help from microorganisms that feed off of them and live in the soil.
As a result, plants have access to the important nutrients they need to grow and thrive. Moreover, the quality of the soil is dramatically improved.
Worm composting is also known as vermicomposting, from the Latin vermes via the Italian vermi, both of which mean “worms.”
What Are The Main Benefits of Composting With Worms?
In other words, why do it? Is it really worth the extra effort? We’ve already seen that worm composting creates a nutrient-rich, organic fertilizer for your plants. But it also –
- Increases the number of microorganisms in the soil (it’s one of the reasons worm composting is a lot faster than other forms of composting)
- Has been shown to remove toxic, heavy metals from the soil
- Increases the water-holding capacity of the soil, thereby decreasing the possibility of over-watering
- Suppresses the growth of harmful fungus and pests
- Gives home owners and apartment dwellers an easy way to reduce the amount of kitchen waste they generate
- Reduces the amount of greenhouse gases entering the atmosphere which happens when waste ends up in landfills and incinerators
- Lessens the amount of waste reaching the ocean
So you don’t need a garden, house plants, or even a lot of indoor space (as you’ll see in a minute) to get involved in this fun activity. The environment will especially appreciate your worm composting efforts.
But if you do have a garden or house plants, then you have the extra benefit of easily creating a rich source of “food” for your plants in the comfort of your home.
What’s the “Right Worm” to Use for Worm Composting in Hawaii?
When it comes to worm composting, especially in Hawaii, not all worms are created equally.
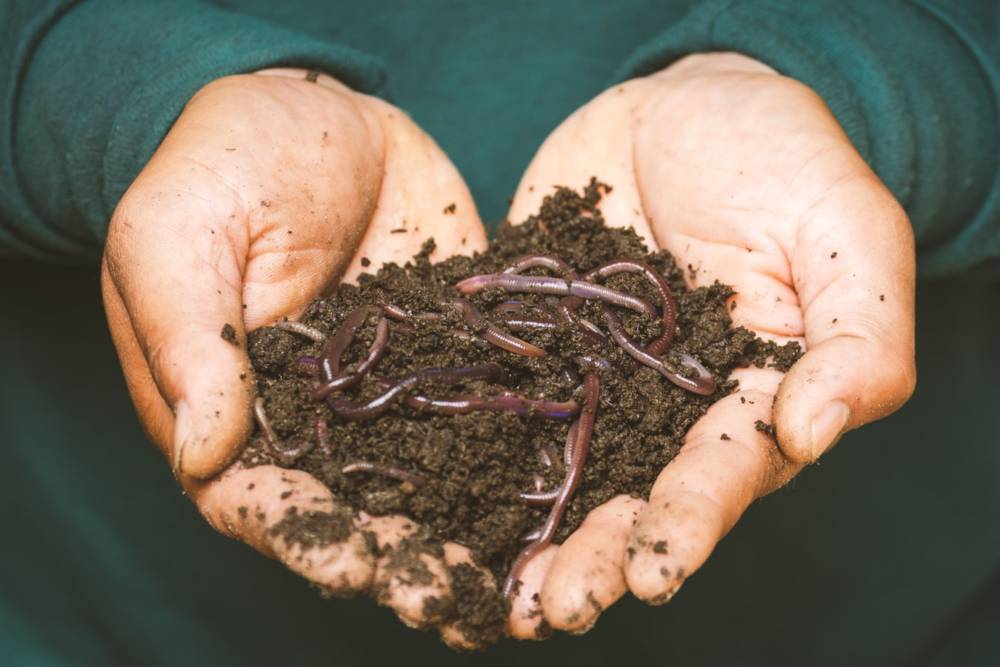
First, you need to use “compost worms” and not “soil worms.” Yes, there’s actually a difference. Soil worms, like the earthworms you often see after a heavy rain, burrow deeply into the soil and feed on soil minerals. Their main job is to aerate the soil.
Compost worms live closer to the surface of the soil in decaying organic matter, their primary food source. Their job is to eat organic waste and excrete the densely nutrient-rich worm castings used in organic gardening.
The second major factor in worm selection has to do with climate and temperature. An excellent worm species that is suitable for composting in Hawaii is the blue worm (Perionyx excavatus), a species whose native habitat is the warm, wet tropics of Asia. The red wiggler (Eisenia fetida), which can’t tolerate temperatures above 86 degrees Fahrenheit, is the “go to” composting worm typically recommended for relatively cooler, northern climates.
Third , you have to purchase your compost worms locally. It is illegal to import them into the state which could lead to the possible introduction of invasive species. If caught, you can be fined up to $25,000.
So check with Ko’olau Farmers for reputable outlets where you can buy legal, composting worms.
How Easy Is It to Set Up and Manage a Home Worm Composting Operation?
Very! Worm composting might appear too complicated. But when you break it down into three simple steps — setting up your compost bin, managing it, and harvesting the compost — you’ll begin to realize just how easy it is.
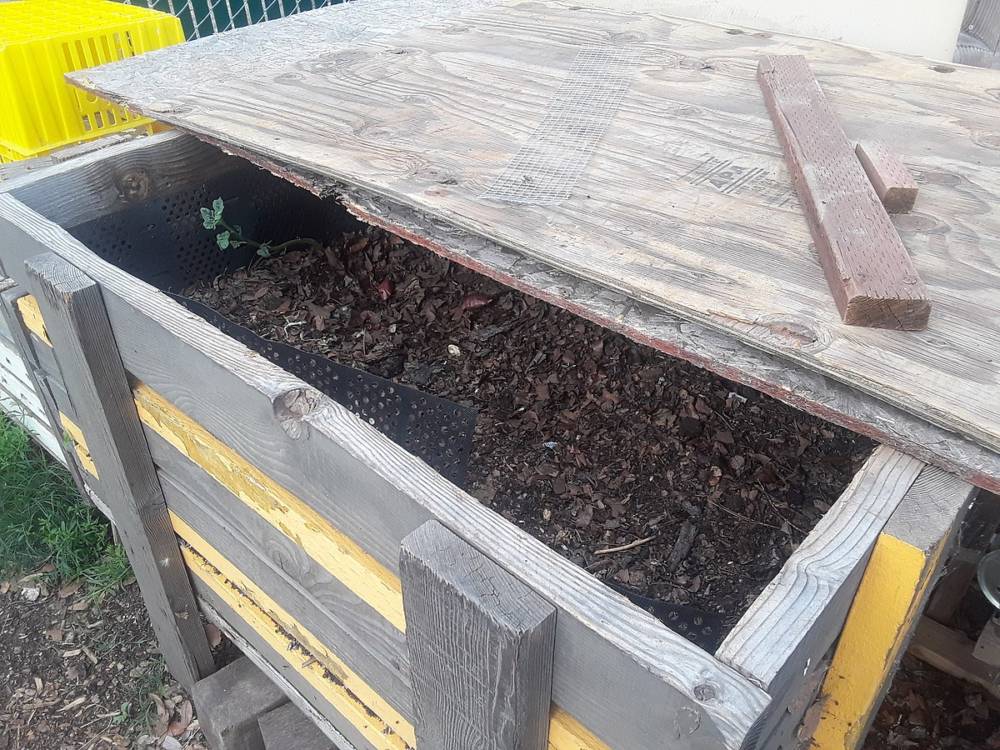
1) Set Up the Composting Bin
Composting worms are fairly easy to please when it comes to the environment in which they live. As long as it has enough airflow, contains moist bedding, and is filled with the kitchen scraps they love to gobble down, they are happy.
These features can all be achieved whether you’re using a worm composting bucket, bin, or bag. The type of bin system you choose will depend on how much room you have in your home, how much kitchen waste your family produces, and how much time you want to spend harvesting the worm castings.
Whichever system you choose, the bin should be dark on the outside as well as the inside because worms are sensitive to light. It also needs good air flow and drainage and a continual supply of moist, organic bedding (e.g. paper, cardboard waste, leaves, coconut coir fiber, and sphagnum peat moss) for the worms to wiggle around in.
The Urban Worm Bag
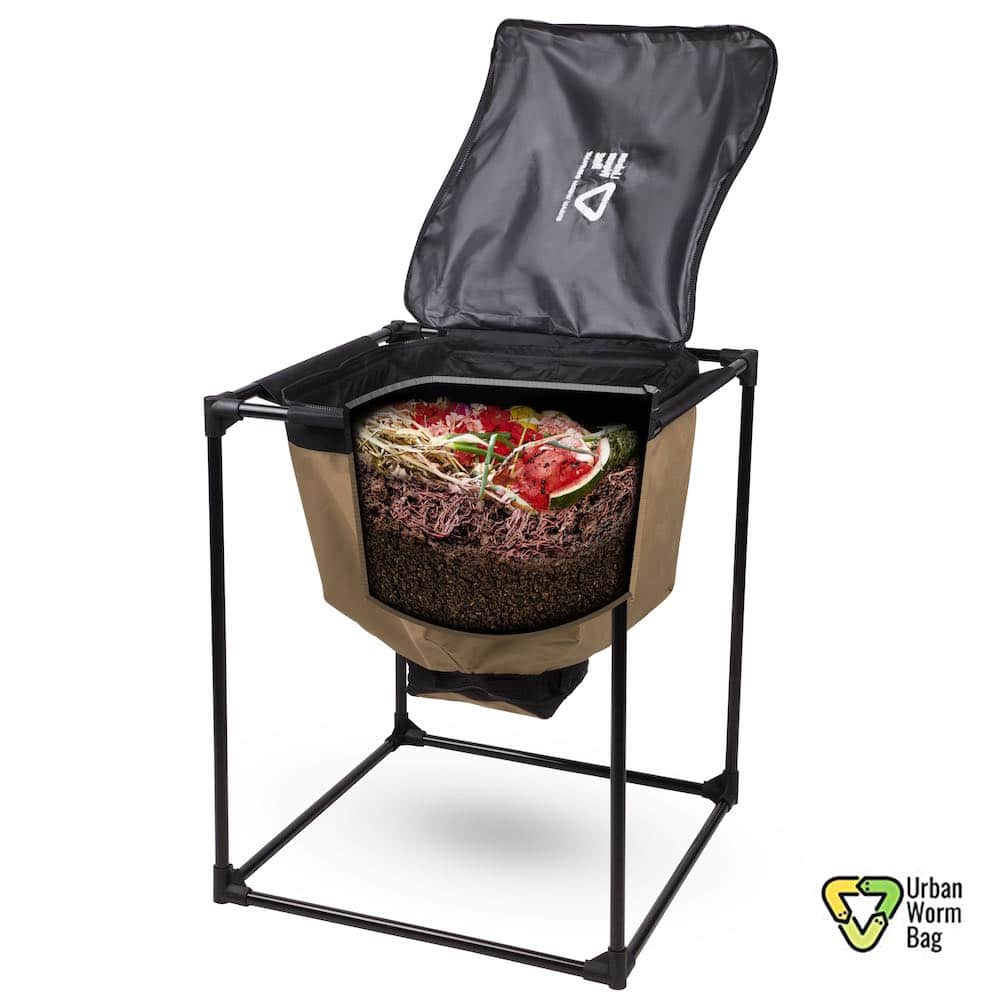
Photo used with permission
Ko’olau Farmers offers the Urban Worm Bag, one of the easiest-to-use, home worm composting systems on the market. What makes the Urban Worm Bag unique is its ability to take the pain out of harvesting worm castings. Bin systems typically require the time-consuming process of removing worms from the bedding in order to harvest the castings.
The Urban Worm Bag takes advantage of the fact that composting worms like to stay close to the surface of the bedding. As bedding and food are continually consumed and replaced, the worms move up towards the surface. This leaves their worm castings at the bottom of the bag where they can be easily removed and ready to use.
It’s compact enough to be stored inside your home or apartment. You can also set it up in a shady spot in your backyard or on your lanai.
2) Manage the Composting Bin
Now that you’ve set up your worm composting bin, you’ll soon realize that managing it is just as easy.
One of your main jobs will be feeding the worms. They can eat most fruits and vegetables, including peels and ends (but not too much citrus), tea bags, coffee grounds and filters, egg shells, grains, newspaper (yes, they’re going to eat the bedding, too), paper towels right off the roll, and leaves.
The two ingredients not to include are meat/dairy products and non-biodegradable items. The former can putrefy, smell badly, and attract unwanted pests and vermin. And composting worms won’t eat items like plastics, bottle caps, and aluminum foil which belong in the trash.
You’ll also need to replace the bedding as the worms consume it along with their food scraps. And keep an eye on the bedding to make sure it remains moist but doesn’t get too wet.
Finally, while problems should be few in number, you’ll need to immediately address any that arise. Some common problems and their possible causes include:
- A bad smell (meat in the bin, too wet, poor ventilation, exposed food scraps)
- Worms escaping or dying (too hot, poor ventilation, not enough food)
- Too many flies (rotten or too much food (especially citrus) in the bin, exposed food scraps).
With the right selection and amount of food, bedding, ventilation, temperature, and drainage, your worm composting bin will practically take care of itself.
3) Harvest the Worm Castings
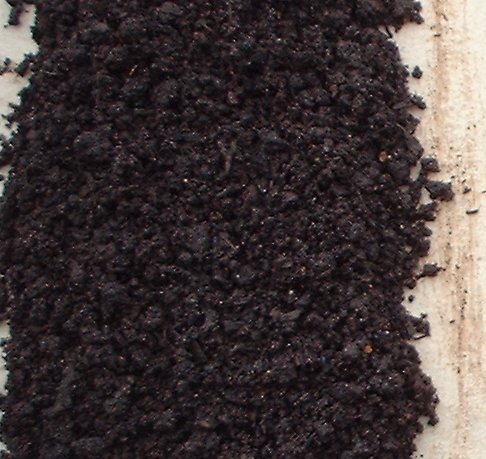
Public domain image
If you selected the Urban Worm Bag, harvesting should be a piece of cake. Simply follow the instructions that come with the bag. If you’re using a bucket or bin system, you’ll have to manually separate the worms from the castings as they accumulate in the bin.
Fertilizing With Worm Castings
Because worm castings are so nutrient-rich, a little goes a long way.
- Mix a small amount (one part castings to three parts soil) into your garden or transplant soil.
- Add a small amount of castings to the surface soil around the base of established plants when it’s time to fertilize them.
- Sprinkle some castings on the surface soil of your houseplants to keep them well nourished and thriving.
Worm composting is an easy way to create a nutritious, organic fertilizer that will significantly improve the health and vitality of your fruits, vegetables, and house plants.
Contact or visit a Ko’olau Farmers near you for more information about how to get started.